 Pin it
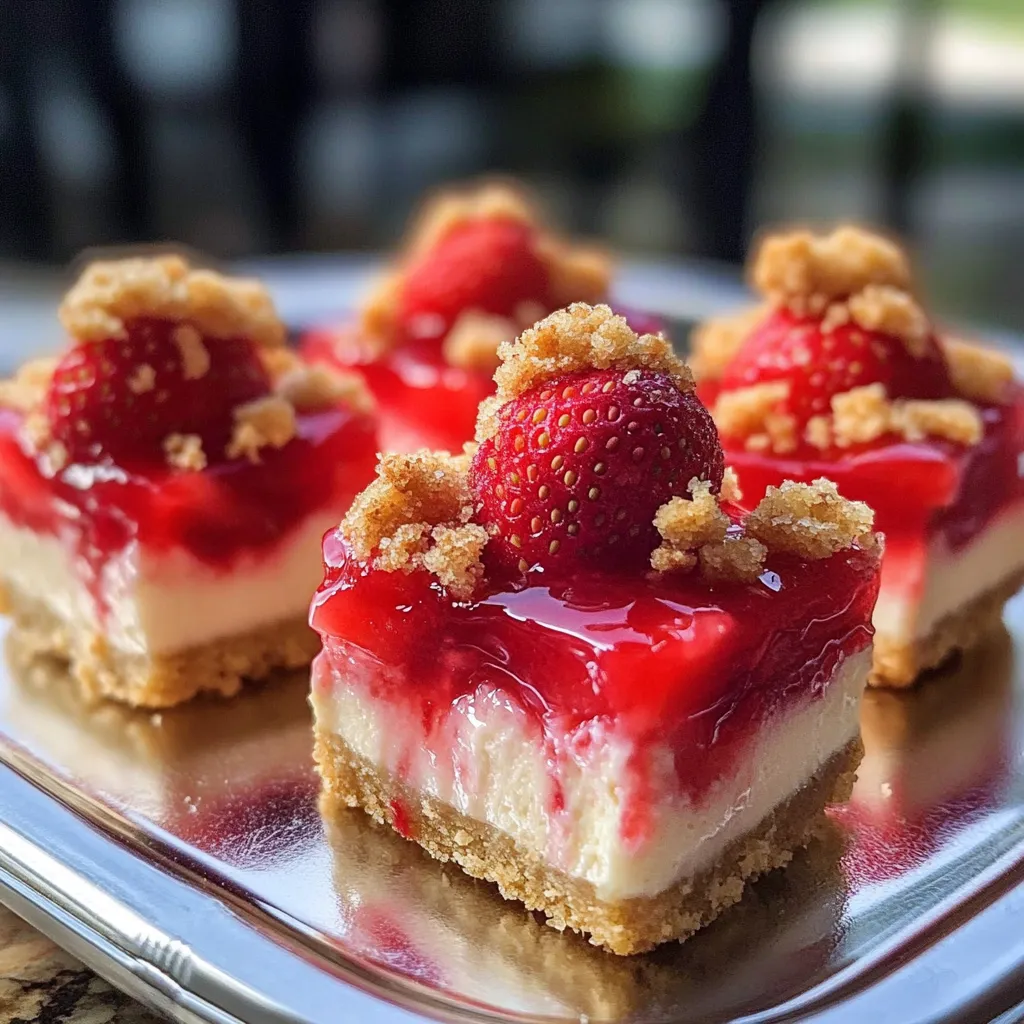
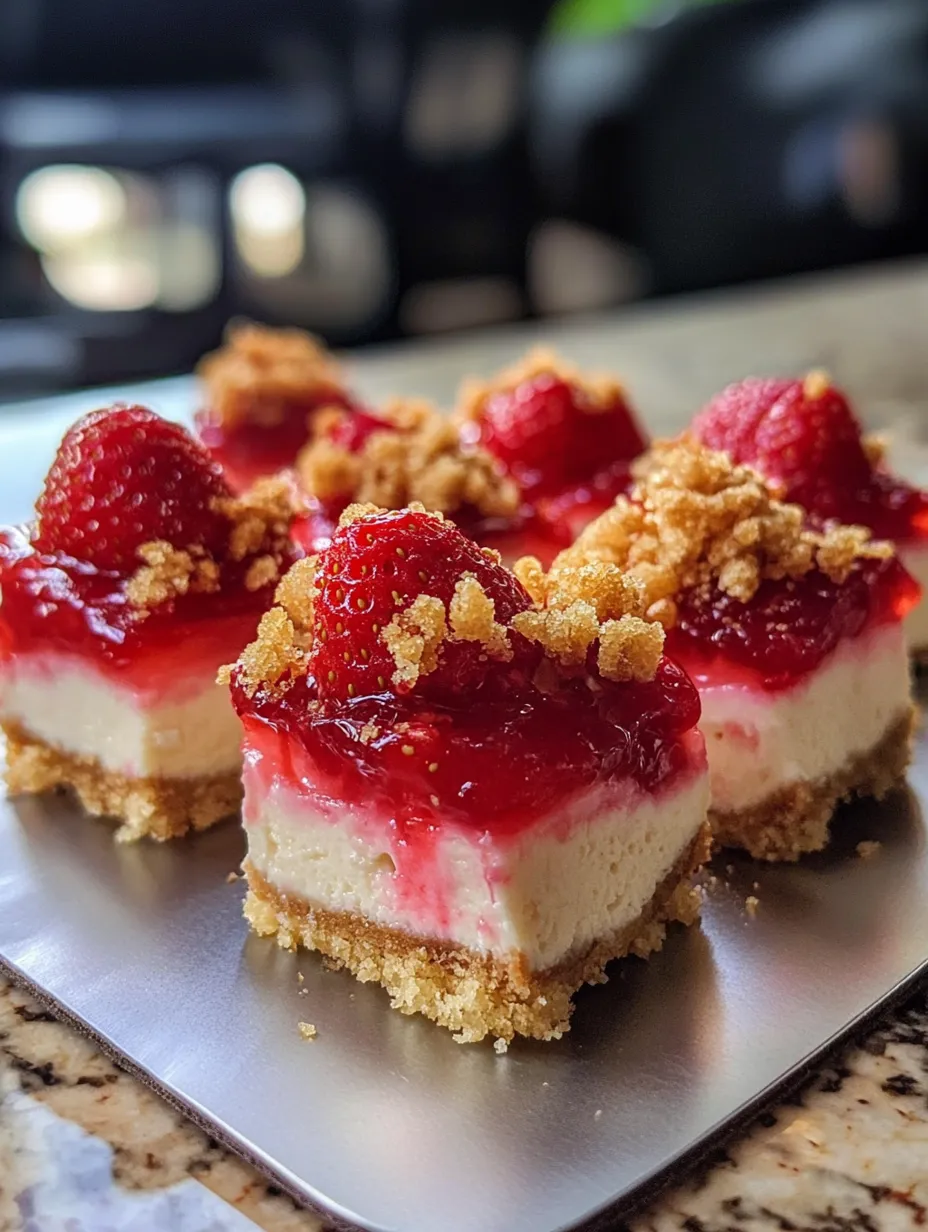
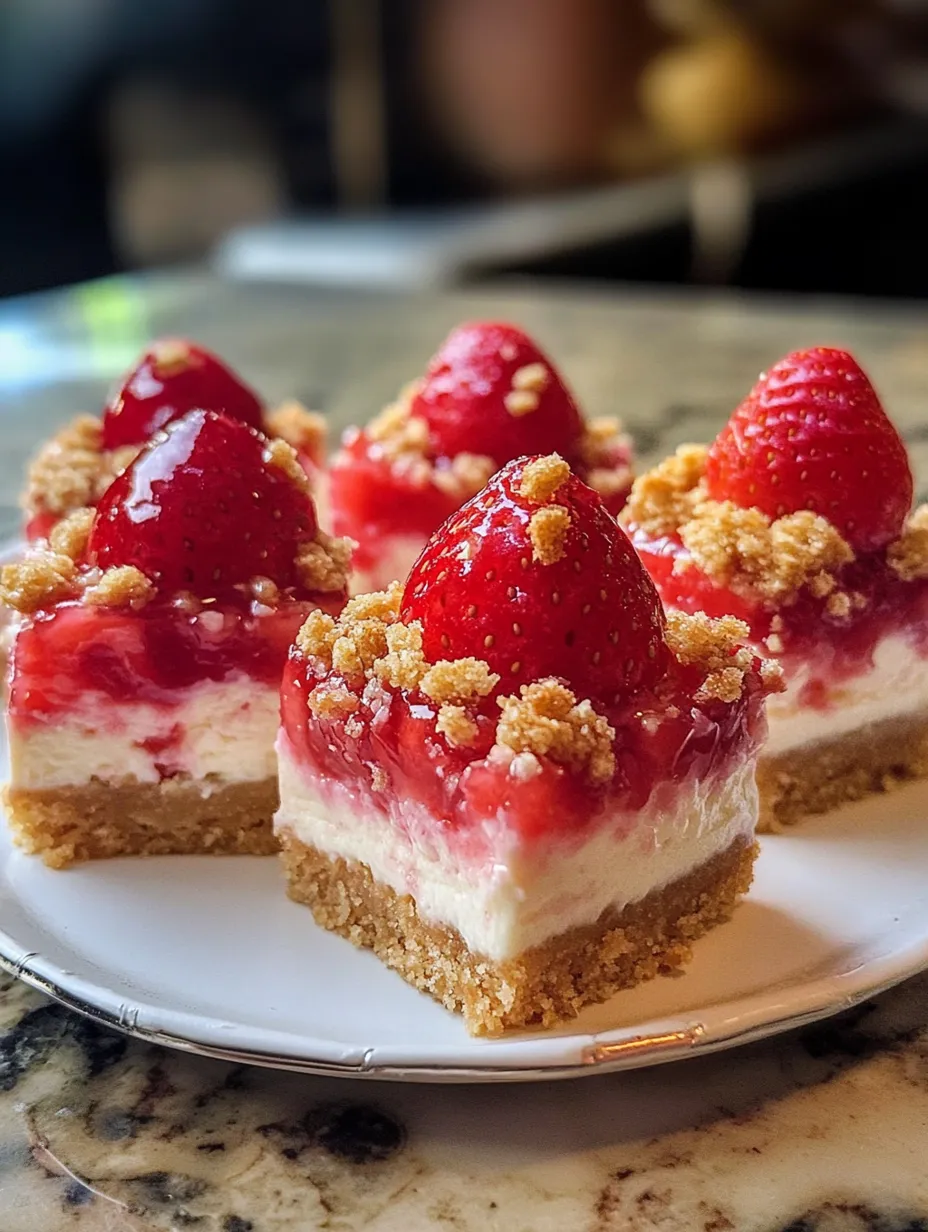
I whipped up these strawberry crunch cheesecake bites after falling in love with those strawberry shortcake ice cream bars we all grew up with. I wanted to capture that same yummy taste but make it fancier for get-togethers. The mix of smooth vanilla cheesecake with zingy strawberry swirls and that crunchy topping makes these little treats the star at every party I take them to. It's way too easy to keep popping them in your mouth!
My next-door neighbor Judy always said she hated cheesecake until she grabbed four of these at our summer block party! When I caught her sneaking a fifth one, she just smiled and told me, "These small ones don't really count." My son and his buddies finished off a whole tray during movie night, and I've gotten texts from three different people begging for the recipe after trying them. That strawberry crunch topping seems to make everyone forget about self-control!
Key Ingredients
- Graham cracker crust: Makes that warm, buttery base everyone loves. I've played around with fancy cookies and shortbread, but nothing beats classic graham crackers with the cheesecake. Those subtle honey hints in the grahams just work magic here.
- Cream cheese: I always grab Philadelphia. Tried saving money with cheaper brands but you can totally tell the difference. Make sure you leave it out for two hours before using—cold cream cheese will make your cheesecake all lumpy and sad.
- Strawberry preserves: Don't skimp here! Cheap jam tastes fake and ruins everything. I love using Bonne Maman or my sister's homemade stuff when she shares. Those little strawberry chunks create such pretty swirls throughout.
- Golden Oreos: These vanilla cookies are my secret weapon for authentic crunch topping. I've tried other cookies, but the cream filling in Oreos gives that special something that matches the ice cream bar coating perfectly.
- Strawberry Jell-O powder: Just use it DRY, don't make actual Jell-O! This gives you that classic strawberry ice cream bar taste. I tried natural strawberry powder once, but nothing gets that nostalgic flavor like the real thing.
 Pin it
Making Your Treats
- Building your base
- Getting the right crust starts with proper mixing. Stir the graham crumbs with sugar first, then pour in your melted butter while mixing until it looks like damp sand. Squeeze some in your hand—it should stick together without feeling greasy. Push it down firmly in your pan with a measuring cup bottom—this trick makes it flat and even without fingerprints all over. Don't skip the quick pre-bake—it stops your crust from getting soggy later.
- Whipping up smooth filling
- The secret to dreamy cheesecake is all about patience. Your cream cheese NEEDS to be fully soft—cold blocks will ruin everything no matter how long you mix. Beat just the cream cheese first until it's totally smooth, then add sugar and mix until you can't feel any grains. Drop in eggs one at a time, mixing just until they disappear. Too much mixing adds air bubbles that cause cracks. That tiny bit of flour helps the bars cut cleanly later.
- Creating pretty swirls
- Making those gorgeous strawberry ribbons is actually super easy. Drop spoonfuls of preserves randomly on your batter, then drag a knife or toothpick through to make swirls. Don't overdo it! Just a few gentle swipes make the prettiest pattern. If you mix too much, you'll end up with pink cheesecake instead of distinct swirls. Sometimes I chill my preserves for half an hour first to get even sharper swirl lines.
- Baking it right
- Avoiding cracks means using gentle heat. The medium oven temp lets the cheesecake cook through without getting too brown on top. It's done when the edges look set but the middle still jiggles slightly—it'll firm up as it cools. Don't leave it in too long! My first try stayed in the oven too long and turned out more like cheesecake-flavored rubber than that perfect creamy texture.
- Cooling completely
- Getting that perfect texture takes time. Don't rush the chilling step if you want neat squares. My first time making these, I tried cutting after cooling for just an hour, and ended up with a tasty but messy disaster. Now I always make them a day ahead so they cut into perfect little squares.
- Making the signature topping
- The crunch coating needs to be just right. Break up the Golden Oreos roughly, not into powder—you want texture! Mix with dry strawberry Jell-O first, then drizzle just enough butter to dampen everything without making it soggy. Your topping should be crumbly, not pasty. I put it on right before serving for maximum crunch, but you can add it a few hours early if you're taking them somewhere.
When I first made these bars, I went overboard with sugar in the filling and couldn't even taste the cream cheese. I've cut back the sweetness little by little to find that perfect balance of sweet and tangy. My husband actually likes when I make them less sweet with a bit of lemon zest added to contrast with the sweet topping. I also found out that room temp eggs blend way better into the batter than cold ones straight from the fridge—my grandma taught me that trick and it really does make everything mix smoother.
Crowd Pleasers
These fun little squares work for all kinds of get-togethers. For baby showers, I sometimes color half the topping blue for a cute gender reveal treat. During Christmas, I add a tiny bit of peppermint extract for a holiday twist. They're great for potlucks since they travel well and don't need forks or plates—just grab and eat! For outdoor summer parties, I pack them with ice packs to keep them cool. They go great with coffee after dinner or with champagne for special events.
Fun Twists
You can switch up these bars in so many ways while keeping that signature crunchy top. For chocolate lovers, try adding a thin layer of chocolate ganache between the cheesecake and topping. In autumn, swap in pumpkin cheesecake with cinnamon crunchies on top. My friends who love berries go crazy when I use raspberry jam and raspberry Jell-O instead. For a vacation vibe, try pineapple preserves and replace the sour cream with coconut cream in your filling.
Storage Smarts
These tasty bites stay good in the fridge for about 3-4 days. I wrap them tightly with plastic or put cut squares in a sealed container. The crunchy topping will get softer over time from the moisture in the cheesecake, so if you're making them way ahead, maybe wait to add the topping until closer to serving. For parties away from home, I keep them cold in a cooler with ice packs. They freeze really well too—just thaw them overnight in the fridge when unexpected guests drop by or when late-night cravings hit!
 Pin it
I've been tweaking these strawberry crunch cheesecake bites for about three years now, getting better with each batch. There's something so rewarding about watching someone bite into one and seeing that moment when they recognize the familiar strawberry shortcake flavor in cheesecake form. They do take some time to make, but most of that is just waiting for them to chill, and trust me, they're totally worth it. The combo of creamy, tangy, sweet and crunchy makes these little squares impossible to resist—just don't count on having any leftovers!
Frequently Asked Questions
- → Can I swap the cookies for the crumb layer?
- Totally! Try vanilla wafers or shortbread cookies if you can't find Golden Oreos. Just stick with vanilla-flavored ones for that classic look and taste.
- → How long can I keep these in the fridge?
- They should stay fresh for about 5 days when you keep them in an airtight box. The crunchy layer might get soft, but they'll still taste awesome.
- → Do these freeze well?
- Yep! Pop them in the freezer for up to 3 months. Leave off the cookie topping until after they thaw, so it stays crispy.
- → Can I use real strawberries instead of jam?
- It’s tricky because fresh berries are so juicy. You could simmer 2 cups of diced strawberries with some sugar and cornstarch until thickened, let it cool, and then use that!
- → How do I know when the cheesecake’s ready?
- You should see the middle jiggle a bit when you move the pan. The edges will look set, and as it cools, the center firms up nicely.