 Pin it
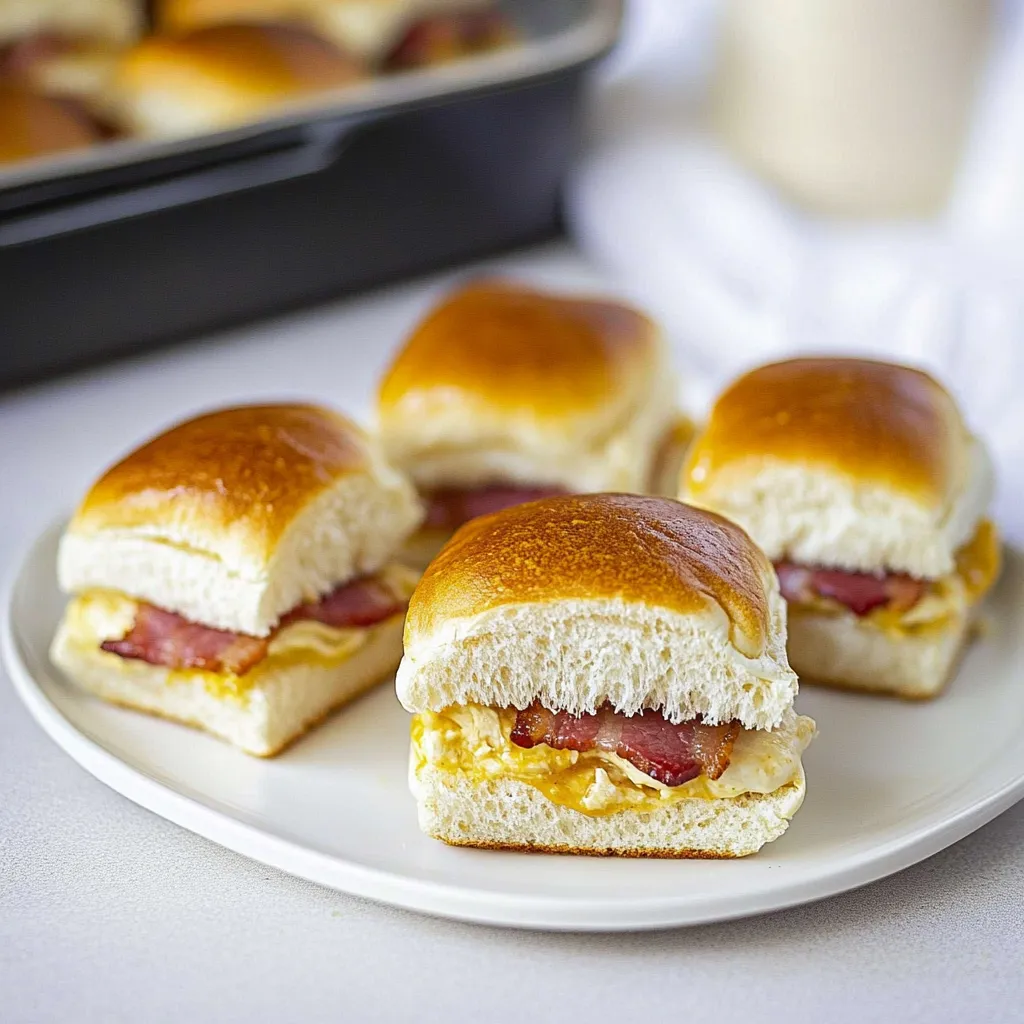
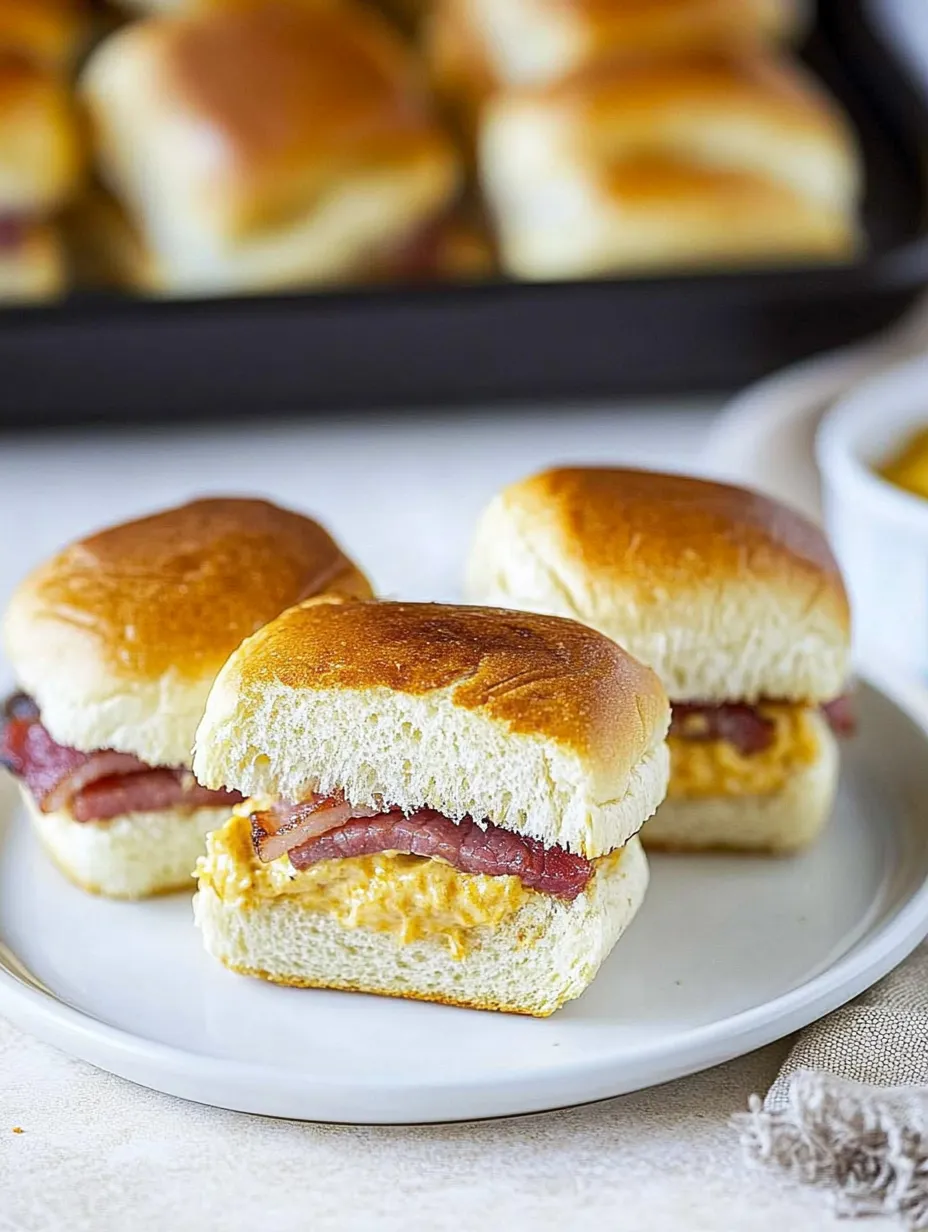
These turkey bacon ranch sliders transform ordinary dinner rolls into irresistible mini sandwiches packed with savory flavors. The combination of creamy ranch, crispy bacon, tender turkey and melty cheese creates the perfect handheld treat for any gathering.
I first made these sliders for a last-minute game day gathering when I needed something substantial but simple. They disappeared so quickly that I now double the recipe whenever friends come over.
Ingredients
- Dinner rolls: Use sweet Hawaiian rolls for the best flavor contrast with the savory fillings
- Ranch dressing: Provides creamy tanginess that ties all flavors together
- Cooked bacon: Adds essential smokiness and crunch; look for thick-cut for best texture
- Turkey: Deli meat creates the protein foundation; choose quality roasted turkey for best flavor
- Sharp cheddar cheese: Delivers the perfect melt and bold flavor that stands up to the other ingredients
- Salted butter: Creates that golden glossy top that makes these sliders irresistible
- Cooking spray: Ensures easy removal from the baking dish
Step-by-Step Instructions
- Preparation:
- Gather all ingredients before starting to streamline the assembly process. Having everything ready makes this recipe come together in minutes.
- Preheat and prepare:
- Set your oven to 350°F and thoroughly grease your baking dish. This temperature allows for even melting of cheese while crisping the tops perfectly.
- Create the base:
- Place the bottom halves of dinner rolls in the baking dish, keeping them connected. Apply a generous layer of ranch dressing across all roll bottoms, ensuring every bite will have creamy flavor.
- Layer the proteins:
- Arrange bacon slices to cover the entire surface, followed by folded turkey slices. The layering order matters as it prevents the bread from becoming soggy.
- Add the cheese:
- Cover the meat completely with overlapping cheese slices. Be generous here as the melted cheese helps bind everything together.
- Complete the sliders:
- Place the top halves of the rolls over the cheese layer. Press down gently to compact the sliders slightly.
- Butter bath:
- Brush melted butter over the tops of the rolls, allowing it to drip down the sides. This creates a golden crust and adds rich flavor.
- Initial bake:
- Cover the dish with foil and bake for 30 minutes. The foil traps steam, helping melt the cheese while preventing the tops from browning too quickly.
- Final crisping:
- Remove the foil for the last 5 to 10 minutes of baking until tops turn golden brown and cheese bubbles around the edges. This step creates that irresistible contrast between soft interior and slightly crisp exterior.
 Pin it
The bacon is truly the star ingredient here. I discovered through many test batches that room temperature bacon cooked slowly creates the perfect texture. My family now requests these sliders for every casual gathering, and my nephew once ate six in one sitting.
Make-Ahead Options
These sliders work beautifully as a make-ahead dish. You can assemble everything up to 24 hours before baking, cover tightly with plastic wrap, and refrigerate. When ready to serve, simply remove from the refrigerator while the oven preheats, add 5 minutes to the covered baking time, and proceed with the recipe. The flavors actually develop nicely as they rest together overnight.
Customization Ideas
The basic formula for these sliders works with countless variations. Try ham and Swiss for a classic combination, or use pepperoni and mozzarella for an Italian twist. Vegetarians might enjoy roasted vegetables and provolone. The ranch dressing can be swapped for mustard, pesto, or even a thin layer of cream cheese mixed with herbs. Just keep the butter topping for that perfect golden finish.
Serving Suggestions
These sliders pair perfectly with simple sides that balance their richness. A crisp green salad with vinaigrette dressing provides refreshing contrast. For casual gatherings, serve alongside kettle chips and pickle spears. If serving as a main course, roasted vegetables or a light soup complete the meal wonderfully. For presentation, transfer to a wooden cutting board and slice just before serving.
 Pin it
Frequently Asked Questions
- → Can I prepare these sliders ahead of time?
Yes! You can assemble the sliders the night before, cover them tightly, and store in the refrigerator. Bake them fresh before serving.
- → Can I use a different cheese?
Absolutely! While sharp cheddar works wonderfully, Swiss, provolone, or pepper jack can be great alternatives depending on your taste.
- → How do I ensure the bacon stays crispy?
For crispy bacon, cook over medium heat and drain the strips on paper towels before assembling the sliders. This prevents them from becoming soggy.
- → What can I serve with these sliders?
Pair them with a crisp salad, potato chips, or roasted vegetables for a complete meal or party spread.
- → Can these sliders be made gluten-free?
Yes, substitute the dinner rolls with gluten-free rolls or bread to make them suitable for a gluten-free diet.
- → How can I add more flavor to the sliders?
Brush the sliders with a flavorful glaze made of melted butter, Worcestershire sauce, mustard, and poppy seeds before the final bake.