 Pin it
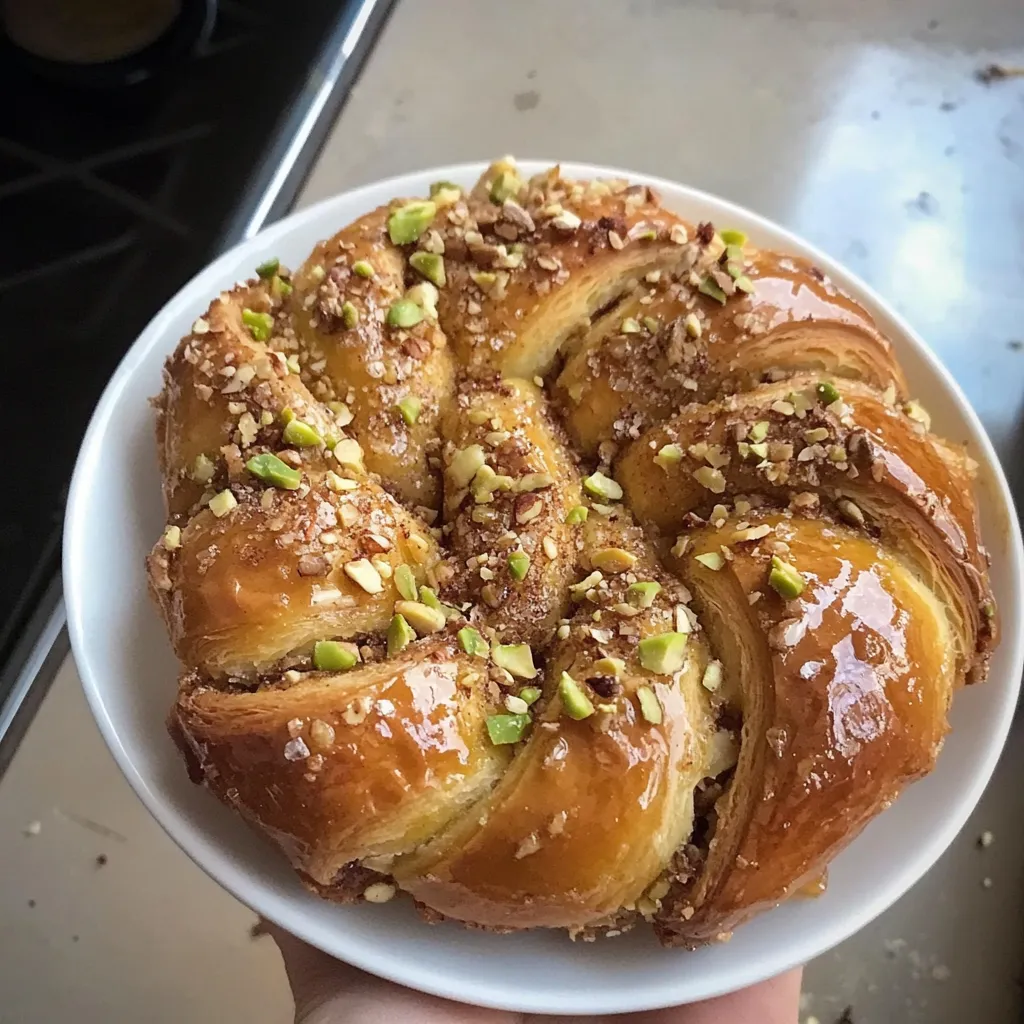
I whipped up these baklava babka buns during a random Sunday baking session when I couldn't pick between babka or baklava for my family get-together. With a Jewish grandma and Greek grandpa, I grew up enjoying both treats! I thought, "Let's mash them together!" What came out was these amazing swirled buns with the yeasty, buttery taste of babka stuffed with the nutty, honey-drenched wonder of baklava. They've turned into our family's go-to special breakfast - nothing shows love better than a sticky, cinnamon-filled, sweet bun!
My baking-pro aunt actually wanted my recipe after tasting these at our recent holiday brunch! My teenage boy, who usually gulps down breakfast, was caught slowly enjoying every bite and cleaning his fingers afterward. There's just something about mixing buttery bread, cozy spices, and honey-covered nuts that makes everyone take their time and really enjoy what they're eating.
Ingredients
- Active dry yeast: Makes the soft, fluffy dough that's key to these buns. I've used instant yeast when that's all I had, and it works okay, but active dry gives better flavor as it develops.
- Warm milk: Gives the dough a richness you can't get from water. I've made these with almond milk for my niece who can't have dairy, and it works surprisingly well!
- Mixed nuts: Walnuts and pistachios together give you that perfect mix of earthy and sweet tastes, plus they look pretty together. Sometimes I throw in some almonds too if they're in my pantry.
- Cinnamon: This spice brings everything together nicely. I've tried adding bits of cardamom or cloves for extra flavor, but always end up coming back to just plain cinnamon.
- Honey: This is what makes the magical syrup that turns ordinary buns into something amazing. I just use whatever honey I've got, but orange blossom honey adds a nice flowery touch if you can find it.
 Pin it
Step-by-Step Instructions
- Perfect dough consistency
- Getting that just-right babka dough starts with good mixing. I put all dry stuff together first, then slowly add the wet ingredients. Your dough should feel soft and a bit sticky but still come away from the bowl sides. The first batch I ever made was too dry and the buns came out tough. Now I know to go with the process - it gets less sticky after you knead and let it rise.
- Filling texture
- Getting that nut filling just right takes a bit of care. I chop the nuts small but not too fine - you want some chunks! A food processor is great, but be careful not to turn them into paste. My first try had nuts that were too big, which left gaps in the filling. Now I aim for little pieces about the size of tiny peas for the best bite.
- Rolling technique
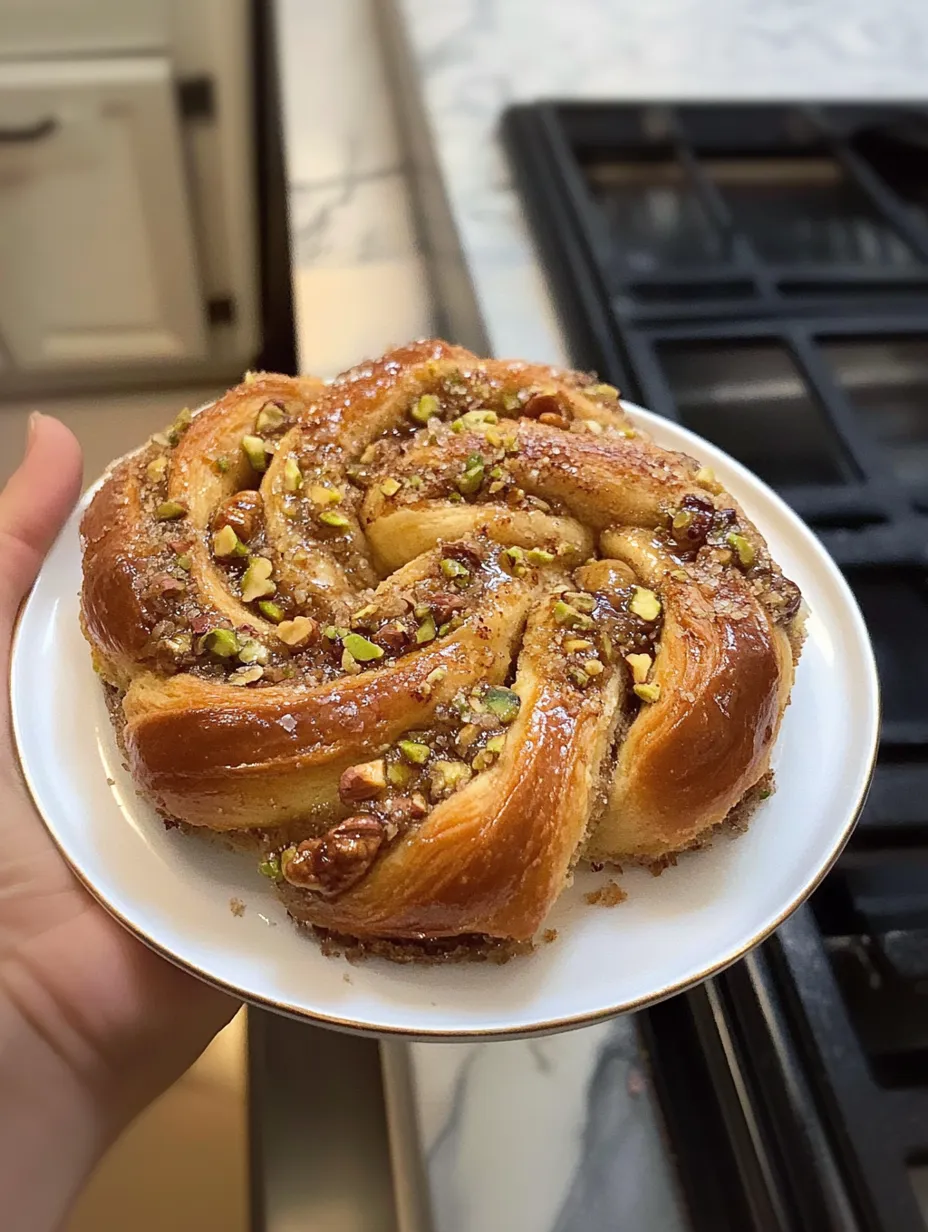
- Making those pretty swirls needs a light touch. Roll your dough into a big, thin rectangle - the thinner you can go without holes, the more swirls you'll get. Spread filling evenly but leave a little edge all around. When rolling it up, keep it snug but don't pull the dough tight or it might tear. I roll from the long side to get more swirls, though going from the short side gives you fewer, bigger swirls.
- Twisting method
- Making those fancy twisted buns is easier than it looks! After rolling the dough into a log, I cool it for about 15 minutes if it's gotten too soft. Then I cut it down the middle lengthwise, making two long strips with layers showing. Twist these strips around each other, then curl into a bun shape. Don't worry if they're not perfect - somehow the messier ones always look better in the end!
- Baking wisdom
- Getting that nice golden color without overcooking takes some watching. I check them about 5 minutes early - ovens are all so different! You want them dark gold on top but still soft inside. If they're browning too fast, I cover them with foil for the rest of the baking time.
- Syrup soaking
- Getting that sticky baklava finish is all about timing. I make the syrup while the buns are in the oven so it's ready to go. Pour it over the buns while they're still warm (but not super hot) from the oven - this helps them soak up all that sweet goodness. I poke a few little holes in the tops with a toothpick to help the syrup get down inside.
I've been playing with this recipe for about three years, slowly finding the right balance of nuts to cinnamon and the perfect amount of syrup. My first version used way more honey, which made them too sweet and soggy. I've also tried different nuts - hazelnuts make a tasty change, and pecans add a Southern touch to this Mediterranean-inspired treat. My daughter likes when I add some orange zest to the dough, which really does brighten up the flavor.
Breakfast Wonder
These amazing buns should be shown off when serving! For holiday breakfasts, I put them on my grandma's old cake stand with fresh berries around them for color. They go great with strong coffee or tea to balance out the sweetness. For brunch parties, I sometimes make twice as many and arrange them in a spiral on a big serving plate. They're filling enough that one is plenty, though I've never seen anyone stop at just one!
Fun Variations
These flexible buns can be changed up while still keeping that amazing baklava-babka combo. For chocolate fans, throw some mini chocolate chips into the filling (dark chocolate works really well with the nuts). In fall, try adding chopped apples to the filling with a bit of apple pie spice. My husband loves when I spread a thin layer of tahini under the nut filling for a more Middle Eastern taste. And for a simpler weekday version, you can shape everything into one big babka loaf instead of separate buns.
Keeping Fresh
These buns taste best on the day you make them, when the dough is softest and you get that perfect contrast between the syrupy outside and soft inside. If you have leftovers, keep them in an airtight container at room temperature for up to 2 days. To make them taste fresh again, warm them gently in a 300°F oven for about 5 minutes, or pop them in the microwave for 10-15 seconds. They won't be exactly like fresh ones, but they'll still taste great!
 Pin it
I came up with these baklava babka buns to honor both sides of my family background, but they've become so much more. There's something about making them - kneading, rolling, twisting, and the amazing smells filling the kitchen - that feels almost like therapy. While they do need some time and attention, most of that is just waiting for the dough to rise, and the results are totally worth it. Seeing people's faces light up when they first look at (and then taste) them makes all the work worthwhile!
Frequently Asked Questions
- → Can I prep the dough in advance?
- Totally! Let the dough rise overnight in the fridge, then bring it to room temperature before shaping. Freeze baked buns (no syrup) for up to a month.
- → Can I switch the nuts in the filling?
- Of course! Mix and match with walnuts, pistachios, almonds, or hazelnuts to suit your taste. Traditional baklava is versatile that way.
- → What's the best way to store leftovers?
- Keep buns in a sealed container at room temp for up to 3 days. They’ll stay soft thanks to the syrup. Warm them lightly for maximum yumminess.
- → Why do my buns feel dry even with syrup?
- Pour the syrup while the buns are still hot so it soaks in properly. Also, avoid overbaking to keep them from drying out.
- → How do I get the twist just right?
- Cut the rolled dough lengthwise to reveal layers. Twist the halves together, keeping the cut side up, and curl into a bun shape for that lovely design!